Our Step-by-Step Guide on What to Expect During a Microneedling Appointment
Dreaming of smoother, younger-looking skin? Microneedling, or collagen induction therapy, has become a powerful tool for combating visible signs of aging. Here’s our step-by-step guide to the microneedling process, and how it can benefit you.
Preparing for Your Microneedling Appointment
Preparing for your microneedling appointment is simple! Most people find that adequately moisturized skin heals faster than dry skin, so it’s a good idea to keep your skin well-hydrated in the days leading up to your treatment. Avoiding the sun and using sunscreen are also vital steps to ensure your skin is in prime condition for microneedling.
On the day of your procedure, arrive well-hydrated and with a clean face. Leave your make-up at home, and if you use a prescription-strength retinoid or exfoliating product, be sure to stop using it a few days prior to reduce the risk of side effects like mild redness and swelling.
Step 1: Consultation and Skin Assessment
Your microneedling experience begins with a thorough consultation and skin assessment. You’ll work with our microneedling professionals to discuss your skin goals and any underlying conditions. Your specialist will assess the condition of your skin, review the treatment, and answer any questions you may have.
During this time, we’ll explain what to expect during and after the procedure, including potential side effects and the timeline for your recovery. It’s an excellent opportunity to discuss the addition of PRP (Platelet Rich Plasma) to your microneedling treatment. PRP from your own blood can be applied to your skin immediately after microneedling to boost the rejuvenation process.
Step 2: Numbing the Skin
We make sure you’re fully comfortable during the entire microneedling treatment, so before the microneedling procedure begins, your skin will be numbed with a topical anesthetic cream. We typically numb the area about 30 minutes before the procedure, and the cream stays on the skin until you’re ready to start.
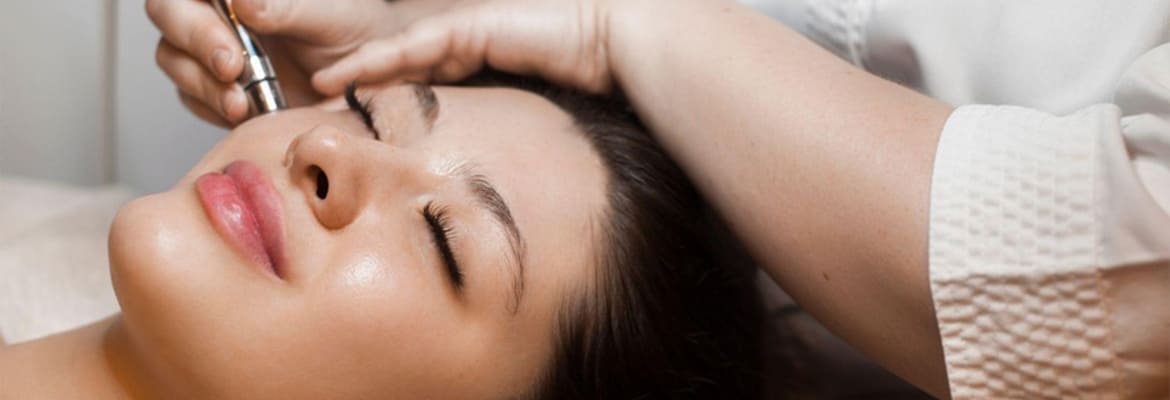
Step 3: The Microneedling Treatment
Once your skin is numb, your specialist starts the microneedling process. She’ll use a pen-like device equipped with sterile, ultra-fine needles to create tiny channels in the skin. The depth of the needles adjusts to target different layers of the skin, depending on your specific needs and goals.
The process itself is relatively quick, typically lasting between 20-30 minutes. You may feel a slight pressure and some tingling during the treatment, but discomfort is minimal.
Step 4: Post-Treatment Care
After microneedling treatment, your skin may appear pink, like a mild to moderate sunburn. This is to be expected—it’s a sign that your skin is beginning to heal and regenerate! Your specialist will provide post-treatment instructions to aid in your skin’s recovery.
Key post-treatment care typically includes:
- Avoiding direct sun exposure for a few days
- Using a gentle cleanser and applying a recommended moisturizer
- Staying properly hydrated
- Returning to your regular skincare routine within a few days, once your skin has healed
Your Journey to Rejuvenated Skin Starts Here!
Ready to renew and revitalize your skin? Contact Impact Rejuvenation today to schedule your consultation and unlock the transformative power of microneedling. Let’s unveil the radiant you, together. Call us today at (727) 292-0200 to get started!
